- Navigate:
- My Pods
- Getting Started
- Isopod Gallery
Isopods: Getting Started
Isopods need three things:
- Dirt
- Leaves
- Moisture
There you go, everything you need to start your journey in the hobby. Enjoy!
...ok I guess I can go into more detail.
1. Get a bin
Go to Walmart or Goodwill or your closet and get a cheap plastic 6-quart bin with a lid. Airflow is important so drill or poke some small holes along the sides.
2. Dirt and moss
While you're out, visit a garden center and get a bag of $3 topsoil, or organic potting soil without added fertilzers, and some sphagnum moss. The moss is sometimes marketed as Orchid Moss. The cheap stuff at Home Depot is perfect.
Digging up dirt from outside is not advisable because it could contain unwanted guests or pesticides.
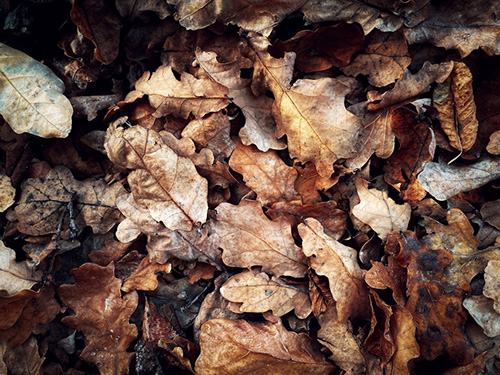
3. Gather leaves
Isopods are detritivores, meaning they consume dead organic material. Most of their diet will be leaf litter.
Go outside and grab some leaves off the ground, ideally from somewhere you know has not been sprayed with pesticides. Hardwood leaves like oak, maple, and magnolia are great; if it falls off a tree in autum it's probably OK. Avoid pine needles (and pinecones).
Take your leaves home and preheat your oven to 220°F (104°C), dump your leaves onto a baking sheet, and bake them in the oven for about 30 minutes. This kills any pests.
If you prefer, you can boil the leaves (your house will smell amazing).
4. Water
If your tap water contains chlorine you need to remove it before using it for your isopods. Gallons of distilled water are cheap, or you can use a dechlorinator like ReptiSafe.
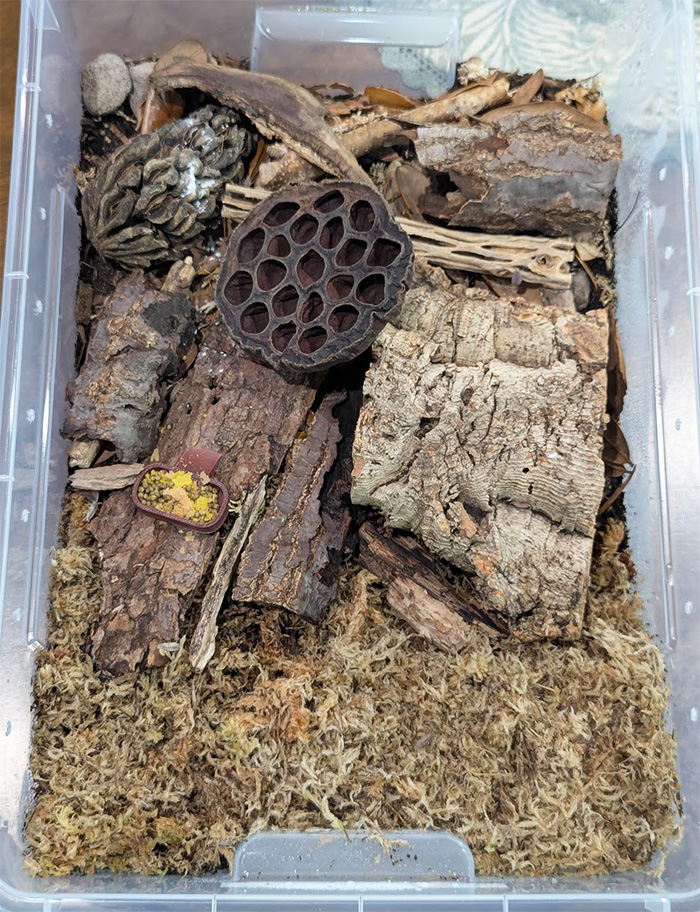
4. Setting up the enclosure
Put about 2-3 inches of substrate (soil) in your bin. Soak a good handful of sphagnum moss in dechlorinated water until it expands a bit, then squeeze it out - you want it wet but not sopping. Place the moss on one side of the bin; this creates a moisture gradient. The isopods will self regulate their moisture intake by moving from one end of the bin to the other, climbing, and burrowing.
Put a good layer of leaves on the "dry side." If it looks like enough, add more. Crunch some up into pieces for texture, keep 'em whole, whatever you fancy. Remember: your pods will eat these over time.
Finally, give the whole thing a good misting.
5. Find some pods
It's finally time to add the little guys themselves! Isopods live just about everywhere and you'll have no trouble finding some out in the wild. Common species are Armadillidium vulgare (shiny and can roll up into a ball) and Porcellio scaber (flatter and longer).
If you'd rather start a little fancier, I highly recommend either Dairy Cows (P. laevis), or a "Party Mix" (P. pruinosus), both of which are very active species sold as clean up crews for bioactive vivariums.
6. Learn and grow
A big ask, but I believe in you! Look into substrate additives, species-specific care, food, breeding, and color morphs. Join discussion and trade goups. Gaze longingly at those cool $100 isopods and weep.